How It Works
At the heart of our service, is the concept of a Memory Vault – this is a unique and personal space to upload and store your cherished memories, and it isn’t shared with anyone else (other than your loved one).
To our it simply, there are 4 main stages:
1. Choose a package
Select one of our packages from our shop – Bronze, Silver or Gold, depending on your storage needs and how long you want us to store your Memory Vault.
2. We’ll create your Memory Vault
Once your order is placed, we’ll create your unique Memory Vault and then send you the details on how to access it and start uploading your content.
3. Upload your content
Once you’ve logged in to your Memory Vault, you’ll then have a simple interface where you can upload your photos / video messages etc. and your beneficiary details so we know who to send your vault to and when.
4. We’ll deliver it to your loved one
On the date that you selected (or at the end of your package’s time period) we’ll send your loved one an invite to unlock your Memory Vault, in which they’ll find everything you left for them.
Working with your Memory Vault
Let’s take a closer look at how to work with your Memory Vault including uploading a file and how to set the “metadata” – the info that tells us who to send it to, and when (if you’re selecting a specific date).
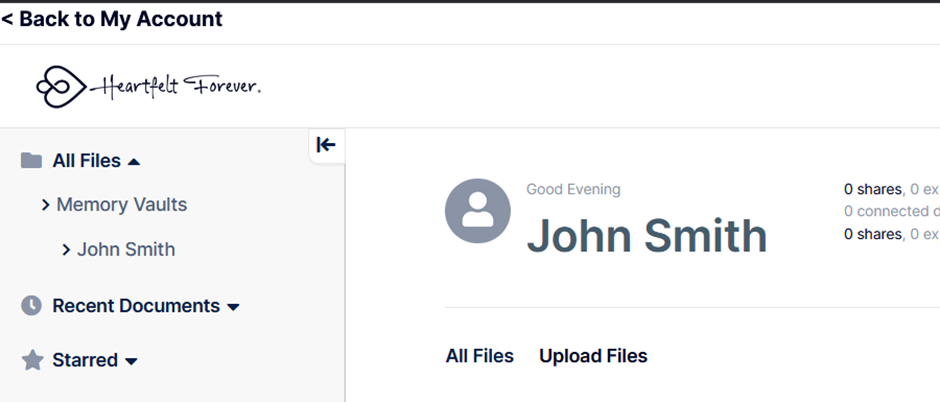
Viewing your Memory Vault:
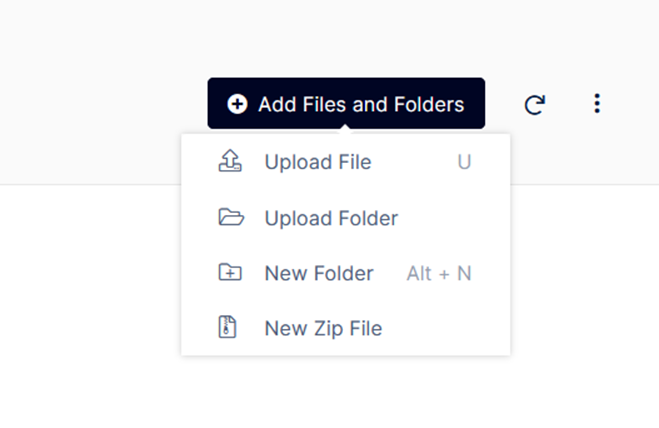
Uploading a File from the right hand side:
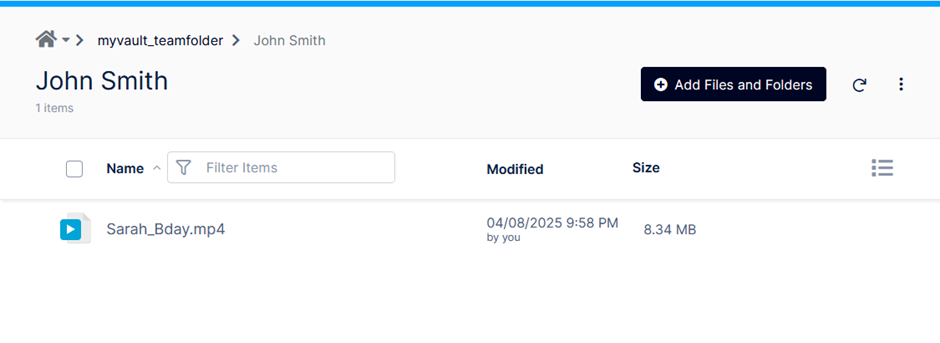
Viewing the contents of your Memory Vault:
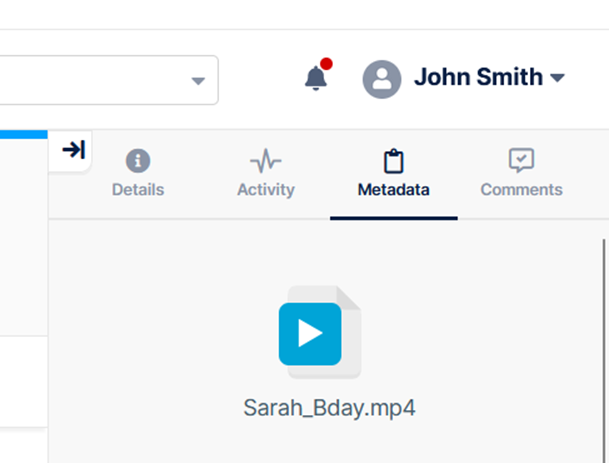
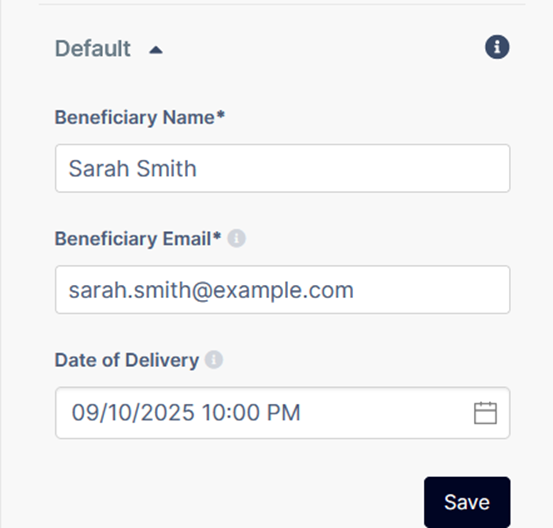
Selecting a file and opening the Metadata tab on the right hand side:
Entering the details of who it’s for, and what date you’d like it sent (the date is important, don’t worry about a specific time)
That’s it! All you need to do is to upload your files, and fill out the metadata so we know who to send it to and when – we’ll handle the rest.
If you’ve got questions that we haven’t answered here, you can check out our Frequently Asked Questions page or head over to our Contact Us page to send us a message and one of our team will be in touch.